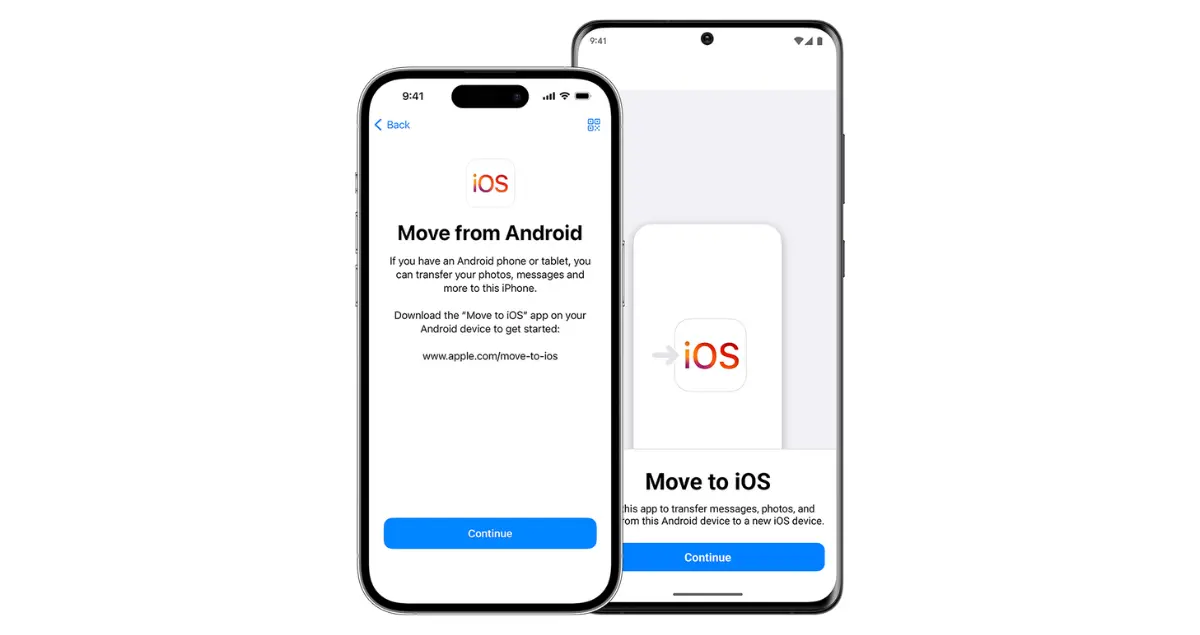
Are you switching from an Android to an iPhone and worried about transferring all your data seamlessly? Don’t fret! With the right steps, you can easily move your photos, contacts, messages, and more from your old Android device to your shiny new iPhone. Let’s dive into the user-friendly process.
How to Transfer Data from Android to iPhone?
Follow this comprehensive guide to learn the step-by-step process of transferring your contacts, photos, messages, and more from your Android device to your new iPhone or iPad:
Step 1: Prepare Your Android Device
Before you begin the transfer process, ensure that your Android device is ready. Here’s what you should do:
- Backup Your Data: Go to Settings > System > Backup on your Android device and ensure all your important data is backed up to your Google account or any other preferred backup service.
- Update Apps: Update all your apps on the Android device to the latest versions to avoid any compatibility issues during the transfer.
- Sync Contacts: Make sure your contacts are synced with your Google account. You can check this in the Contacts app settings.
See Also: Transfer Data from Android to Android
Step 2: Set Up Your iPhone
Now, let’s get your iPhone ready to receive the data from your Android device:
- Turn on Your iPhone: Power on your iPhone and follow the on-screen instructions until you reach the “Apps & Data” screen during the setup process.
- Select “Move Data from Android”: On the “Apps & Data” screen, tap on “Move Data from Android.” You’ll see a 10-digit code displayed on your iPhone screen.
See Also: How to Check Battery Health on Your Android Phone
Step 3: Transfer Data Using the ‘Move to iOS’ App
Here’s where the magic happens. Follow these steps to transfer your data from Android to iPhone:
- Download ‘Move to iOS’: On your Android device, go to the Google Play Store and download the “Move to iOS” app.
- Open the App: Launch the “Move to iOS” app on your Android device and tap “Continue” > “Agree” > “Next.”
- Enter Code: When prompted, enter the 10-digit code displayed on your iPhone.
- Select Data to Transfer: Choose the types of data you want to transfer, such as contacts, messages, photos, videos, etc. Then, tap “Next” and wait for the transfer to complete.
- Finish Setup: Once the transfer is complete, continue with the setup process on your iPhone.
Step 4: Complete Setup on Your iPhone
After the data transfer is finished, you can complete the setup of your iPhone:
- Follow Setup Prompts: Continue following the setup prompts on your iPhone, such as signing in with your Apple ID, setting up Face ID or Touch ID, and configuring other settings.
- Install Apps: After setup is complete, you can download and install your favorite apps from the App Store.
Step 5: Verify Data Transfer
Finally, double-check to ensure that all your data has been successfully transferred to your iPhone:
- Check Contacts, Photos, and Messages: Open the respective apps on your iPhone to verify that your contacts, photos, messages, and other data have been transferred correctly.
- Review Settings: Go through your iPhone settings to make sure everything is configured to your preference.
Congratulations! You’ve successfully transferred your data from your Android device to your new iPhone. Now you can enjoy all the features and benefits of your iPhone with your existing data intact. If you encounter any issues during the transfer process, don’t hesitate to reach out to Apple support for assistance. Happy switching!
See Also: Maximizing Android Phone Battery Health
Conclusion
Transferring data from an Android device to an iPhone may seem daunting at first, but with the step-by-step guide outlined above, it becomes a breeze. By following these user-friendly instructions, you can seamlessly migrate your contacts, photos, messages, and more to your new iPhone, ensuring a smooth transition without losing any valuable data.
Remember, preparation is key, so make sure to back up your data on your Android device before starting the transfer process. With the help of the “Move to iOS” app and a few simple steps, you’ll be enjoying your new iPhone with all your familiar content in no time. So go ahead, make the switch, and embrace the exciting possibilities of your new iPhone!
